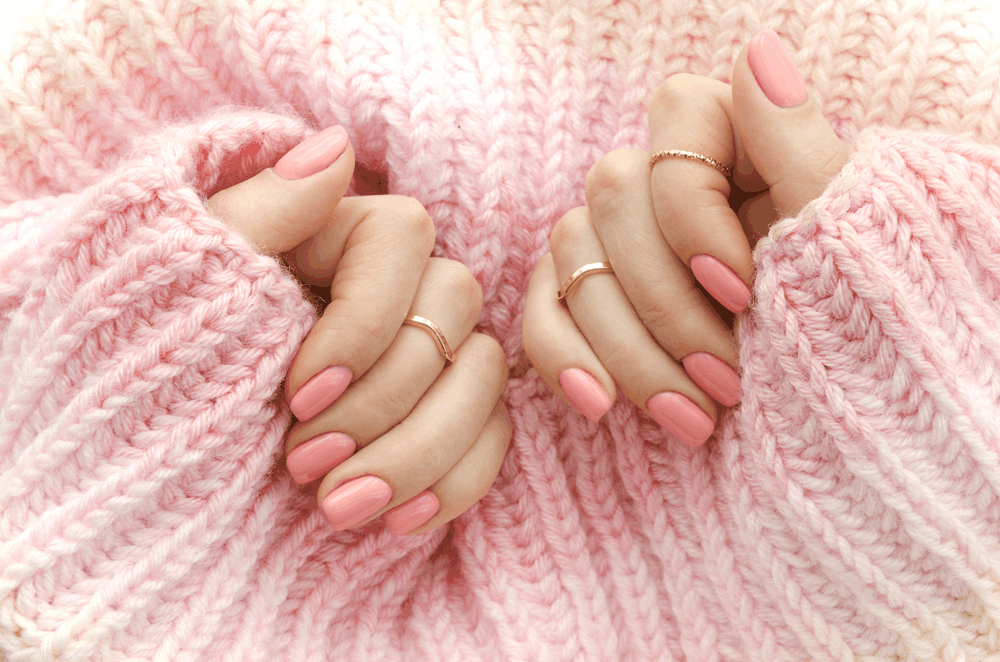
The French manicure is trending big time – forever elegant, stylish and lending an uber chic look to any nails, this years French tip has been given a new twist. Also called ‘baby boomer’ nails, or ‘French fade’, say hi to the simple but stunning ombre French manicure.
Who doesn’t love an ombre nail, but combining it with a French is genius. The dramatic white tip, rather than having a clear boundary line, fades gently through the tones, over the nail bed to the cuticle, where the color is at its strongest. Ideal for delicate wedding nails, the style would actually suit any occasion, and can be as subtle or bold as you like. There’s no reason why you should stick to the traditional white and pinks; why not add a shimmer look, and the design is perfect for embellishing with 3D nail art, such as gems, diamonds or tiny pearls. Increasingly popular around the globe, salons from Australia, Europe and our home turf are offering baby boomer manis, but they’re easy to achieve at home with very little effort.
How to create the perfect ombre French manicure
You’ll need:
- A good quality base and top coat
- Depending on your color choices, pink and white polishes
- Nail polish remover
- Make-up sponges
- Cotton pads
- File, trim and tidy up your nails
- If you are adding acrylic nails, apply them now, either as a whole false nail, or as an extension
- Gently wipe over with nail polish remover to take away any debris and natural oils
- Apply your base coat, and cure thoroughly
- Then brush on a coat of your darker color eg pink, and cure
- Add a second coat of color, and cure
- Cut your make-up sponge into three small strips
- On the first strip, apply your lighter polish eg white, and gently dab this across the raw edge of your nails, brushing more polish onto the sponge as necessary
- Using a clean piece of sponge, diffuse the area where the two colors meet, blending and merging, and giving it a softer appearance
- Repeat on all nails and cure thoroughly
- Take the final piece of sponge and apply the pink polish to the tip, with a line of white just below it
- Dab this over the area, moving the sponge up and down. The pink will help smooth the blend and the white will brighten up the tip of the nail
- Once you have the look you’re after, cure
- Apply two layers of top coat, curing thoroughly in between