Look Your Fabulous Best – How to do Gel Nails at Home – Perfectly!
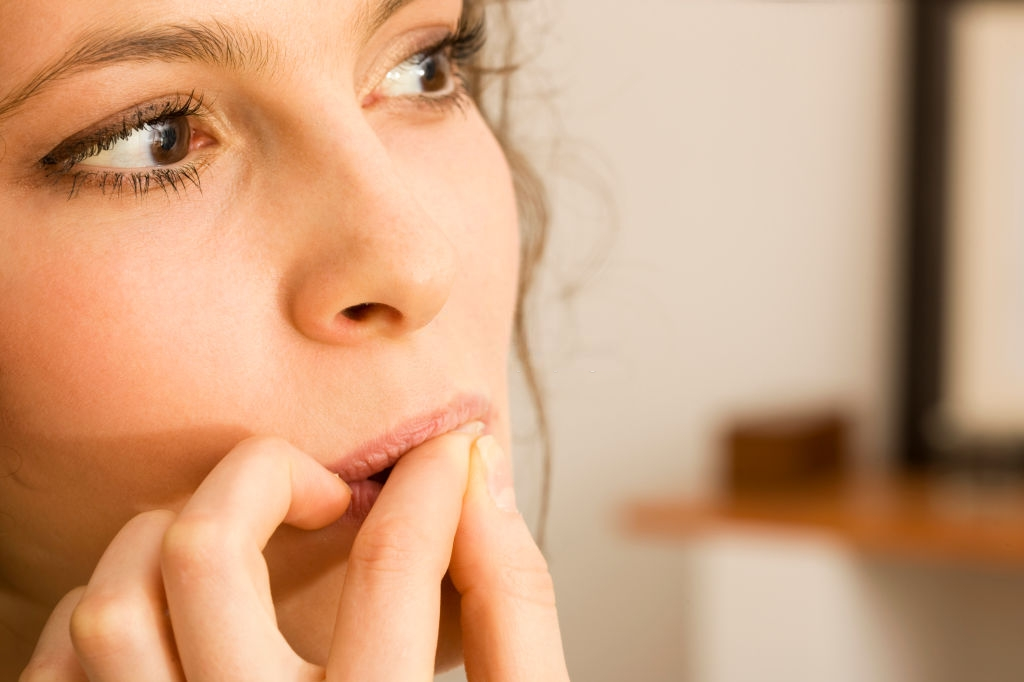
Whatever else is going on in your life, knowing you look awesome can make a big difference. Somehow, stresses and hassle melt away – albeit briefly, when you notice the beautiful gems at the end of your perfectly moisturized fingers.
With so many types of polish, all providing different benefits and finishes, the world of the home manicure can seem confusing. But, trust me, it’s not!
The benefits of gel nail polish
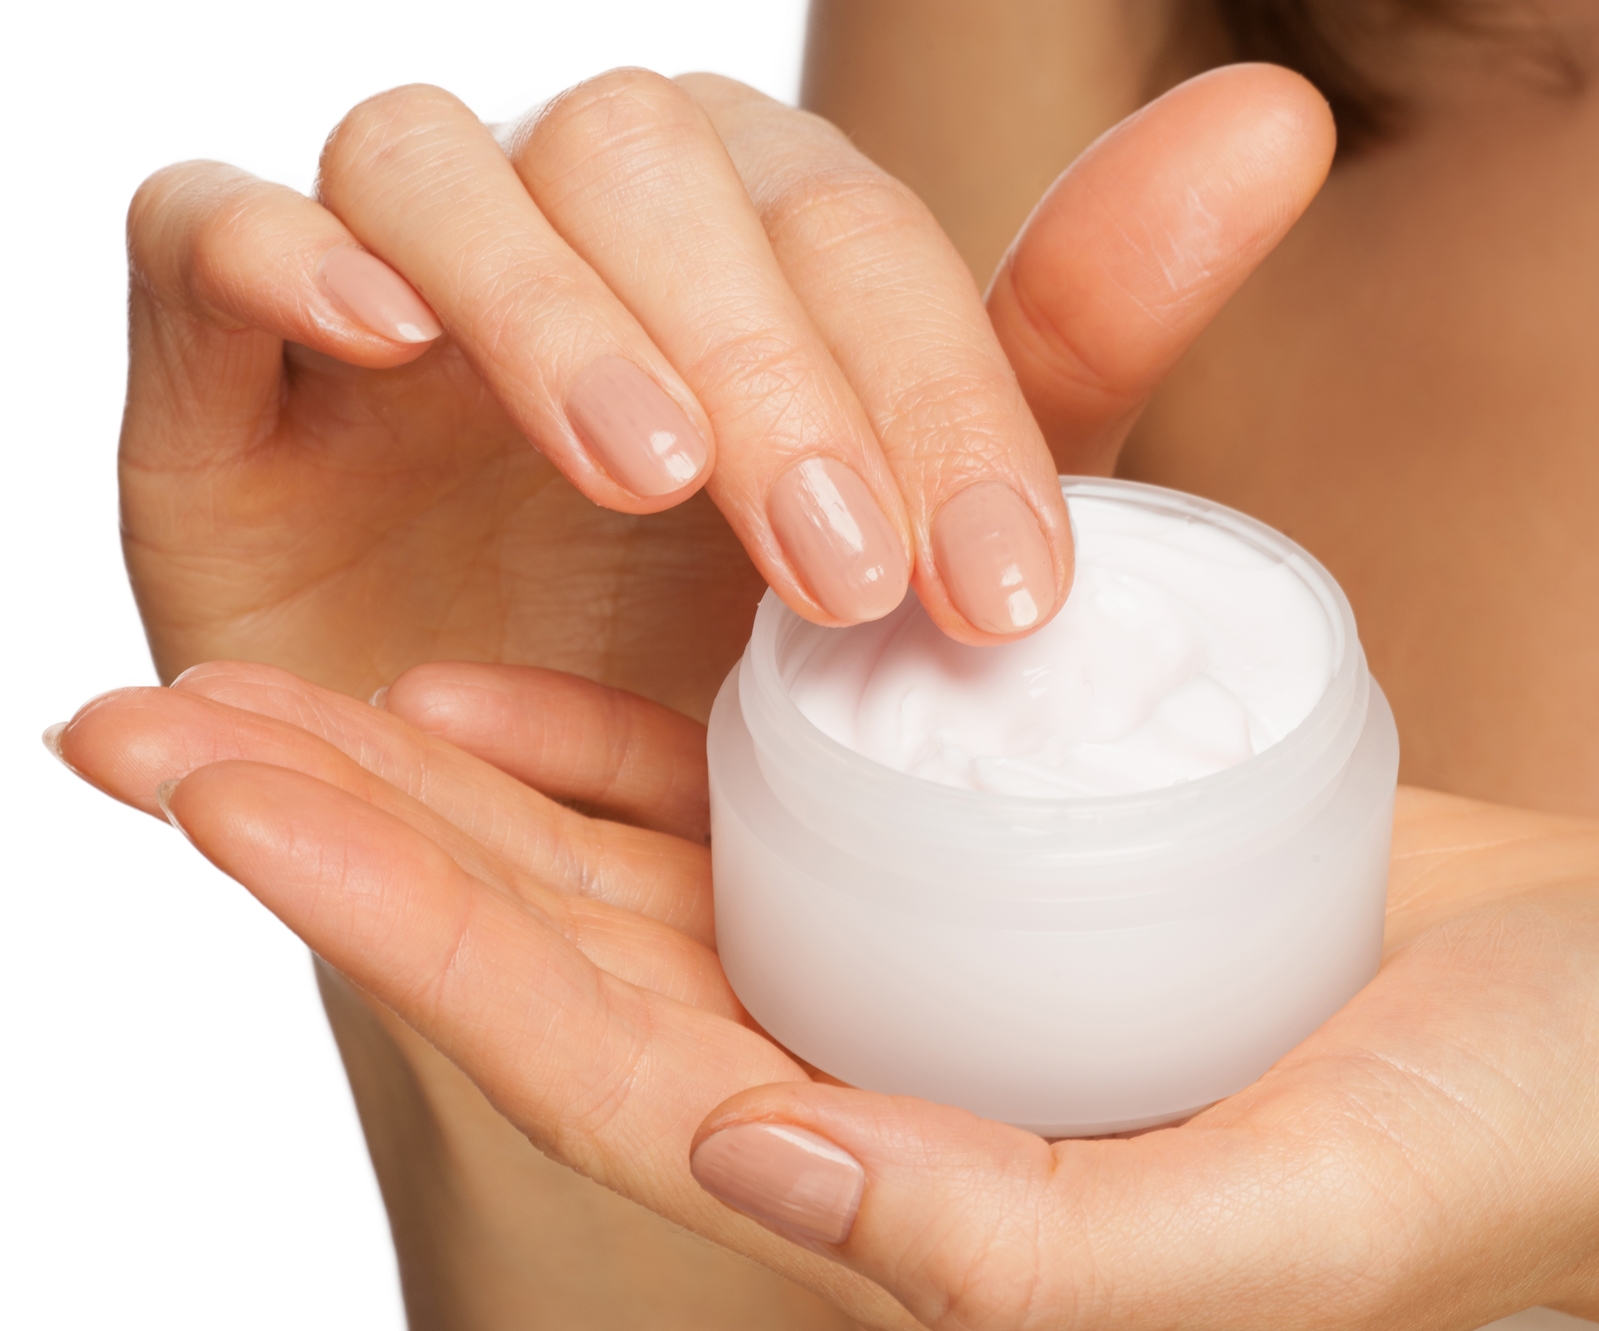
Gel polishes are a great choice when it comes to home manicures, and offer numerous benefits. For starters, the polish has improved durability when compared to many other types, and will often still look amazing, with no chips or lifted edges, after four weeks plus! Application is simple, and due to its rapid drying time – usually well under sixty seconds, you don’t need to worry about smudges, or the annoying, impossible-to-fix wrinkles that occur when you bash still-wet regular polish. Gel polish also offers an unrivalled level of protection for your nails, acting as an impenetrable barrier to dirt, and even water, meaning that no matter how often you wash your hands, your nail bed will remain healthy, without drying out and becoming brittle.
How to do an awesome DIY gel manicure
First, gather together the items you’ll need:
- Nail file, buffer and clippers
- Nail polish remover
- Cotton pads
- Base coat
- Gel polish – whatever color you like
- Top coat
- UV hand lamp – while this isn’t absolutely necessary and the polish will dry without one, it rapidly speeds up the drying process
- Begin by trimming your nails – remember that gel nail polishes last, and while it’s in place, your nails can grow quite considerably, so I like to trim a little shorter than I normally wear them
- File the trimmed nails, removing any rough edges and giving your nails the perfect shape. Everyone has their own method of filing nails effectively, but the generally accepted way is to use single direction strokes, rather than a back and forth action.
- Gently file the surface of each nail. This slightly textured surface provides the polish with a surface to ‘grip’ to, allowing it to remain in place for longer
- Taking a clean cotton cloth dipped in nail polish remover, give each nail a thorough wipe over. This removes any debris remaining from the filing, and takes off the natural grease which can prevent the polish sticking and having a perfect finish
- Allow your nails to dry thoroughly
- Take your base coat and give one long stroke down the center of the nail, followed by another on either side. Make sure you don’t go right to the edges of the nail, and keep the polish away from your skin. If the base coat extends onto your skin and dries, it makes it likely that the polish will lift off the nail
- Once completed, dry your nails under the lamp for approximately one minute
- Repeat the base coat process once more
Now for the fun part:
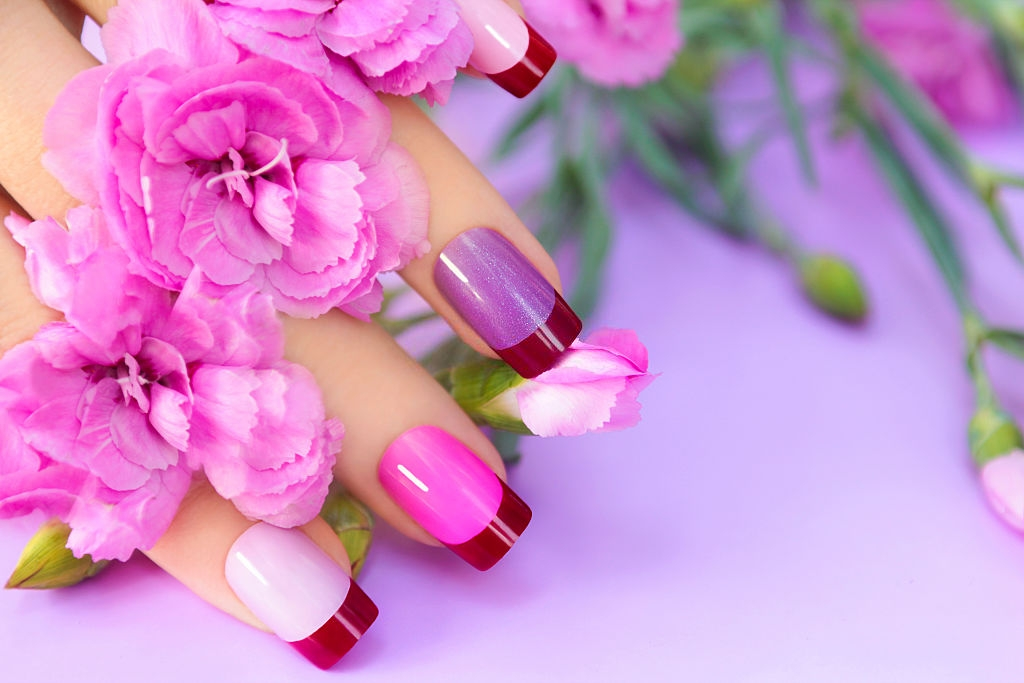
- Apply your chosen gel polish using the same three stroke principle as the base coat, avoiding the very edges of the nail. This first coat should be a relatively thin layer
- Dry thoroughly under the lamp for a minute or two
- Repeat this process until you have built up several layers and your nails are the desired color – I usually apply two to three coats of polish, but that really does depend on the brand of polish I’m using
- Once you are happy with the finish, apply the top coat in the same way
- This time, however, run the brush over the edge of your nail – the raw edge. This will provide a perfect seal, prevent any water getting between the nail and the polish and causing it to lift
- Cure under the UV lamp for a minute or two
- If you wish, apply a second top coat in the same way, remembering to brush over the raw edge, and cure for a little longer, as this is the icing on the cake – mmmm cake!
- Finally, taking a clean, dry cotton cloth, lightly moisten it with nail polish remover, and, without rubbing, wipe over the nail. This removes any sticky residue that’s left on the nail’s surface, leaving you with a gorgeously glossy, or matte depending on what you chose, rock hard
If you wish to add decorations, gemstones or stencil a pattern on to enhance the gorgeousness of your nails, the best time to do this is before you start applying the top coats, and if you need a little inspiration, have a look at these awesome ideas.
Here’s a great YouTube video on creating your own ombre gel manicure – give it a go!