The Enduring Beauty of Nail Overlays
Nail extensions have been around since Ancient Egypt. Only the rich and wealthy could afford overlays, but since then, they have become accessible for everyone. Originally made from ivory or gold, the contemporary nail overlays came about when a dentist broke a nail.
How Were Nail Overlays Invented?
Dentist Fred Slack, in the 1950s, broke a nail while at work, and realizing this could be unhygienic and uncomfortable, he used his dental materials to successfully craft a false nail. He later went on to patent his idea, and here we are!
Today, there are multiple nail extensions and overlay techniques available for those who wish to enhance the appearance and strength of their natural nails, all based on dentistry!
What Are Nail Overlays?
There are two main types of false nails – extensions and overlays. Nail extensions, or tips, are made from lightweight, but durable, plastic, trimmed to your chosen shape – such as almond or coffin. These are glued on your natural nails and overlaid with acrylic or gel to give them a secure finish.
Nail overlays don’t extend your own nail, but involve a strong, hard-wearing acrylic or gel being applied directly onto your natural nails and shaped by hand to give an attractive, neat look. They are then buffed to create a glossy effect. Providing an extra layer of protection if your nails are weak and prone to breaking, overlays are great if you *gasp* bite your nails, or generally have trouble growing them.
After trying out many overlay builders, this one from Makartt comes out top in all tests, and I highly recommend it for both pros and novice DIYers.
Makartt Overlay Builder 50ml

What Makes It Great
Makartt have designed this 100% organic polygel to have multiple uses, however, I really rate it for nail overlays. It’s quick and simple to apply, wonderfully mess-free, and doesn’t have the eye-watering chemical odor that some other overlay products do. Being slightly thicker than regular gel polish, it’s a good idea to very carefully apply it over your whole nail rather than letting it spread out from the central ‘strip’. However, once cured, it’s easy to file down to a perfectly smooth, naturally rounded nail surface look. Once applied, my overlays lasted for over a month, and when removed, my natural nails seemed super nourished and healthy.
Where It Could Be Improved
Only available in pink, you’ll need to use colored polish with this overlay, and can’t get away with your natural nail color.
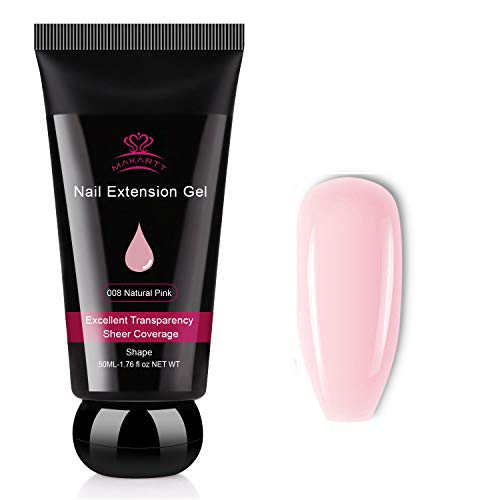
Makartt Nail Extension Gel Natural Pink Builder Gel Nail Gel Trendy Nail Art Design Nail Extension Gel Salon Nail Easy...
- -PERFECT NATURAL PINK . This 50ML tube of nail extension gel is of a wonderful natural pink color, a little sheer, but super natural and beautiful. Perfect to do various nail art design.Match almost all other colors nail gel or nail decorations. Suitable for creating a nail extension in different shape like square nails, oval nails , coffin nails or french nails, also perfect to do french nails with other colors.
How to Achieve a DIY Gel Nail Overlay
As you only use a tiny amount of the gel, your overlay kit will last you for a whole year’s worth of great manicures. But here’s what you need to get started:
- Gel Nail Files
- Nail Polish Remover – acetone-free if possible
- Buffer
- Primer
- Base Gel
- Gel Color polish – optional
- Gel Top Coat

Steps:
- Start by gathering your products and making yourself a coffee!
- Give your nails a good clean with the nail polish remover.
- Buff lightly to remove any shine.
- File.
- Then clean again – it is worth the effort, trust me.
- Apply a thin layer of the primer and let it dry completely.
- Brush on a layer of the gel base coat.
- Cure thoroughly.
- Apply a second thin layer of gel base coat over the whole nail.
- Then add a little bit more gel down the center of your nail. Let the gel settle for a few seconds then cure it under the lamp. This provides a natural-looking curve to the nail surface.
- Gently file the surface to your liking. Don’t apply too much pressure as you don’t want to file down to your natural nail!
- When you’re happy with the look, buff.
- Clean your nails again.
- If you wish, now’s the time to add your color, curing thoroughly between coats.
- Apply a thin layer of gel top coat, making sure you cover the free edges, too, and cure.
- Remove any residue.
- Admire your gorgeous nails and enjoy your coffee, while still gazing in wonder at your beautiful nails.
Are Overlays Applied On Natural Nails?
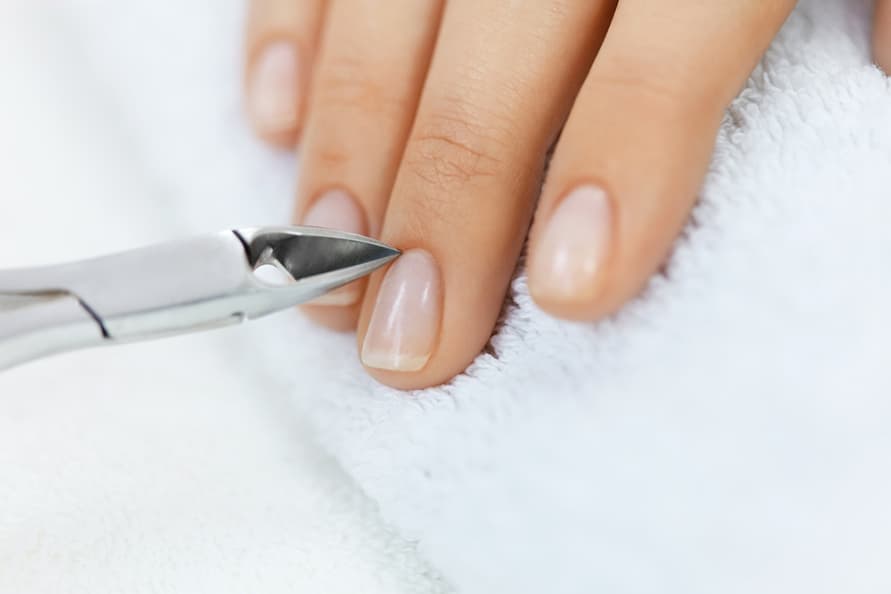
Yes, an overlay is generally applied to your natural nail. The technique involves a cardboard form being applied underneath your nail and around your fingertip, after which the nail technician brushes on gel over your nail and onto the form, cures it so it sticks to your nail, and then buffs it to make it appear natural. This technique looks a lot more natural than applying press-on nails or ready-made acrylic on your nails.
If you enjoyed this article, you may also like: