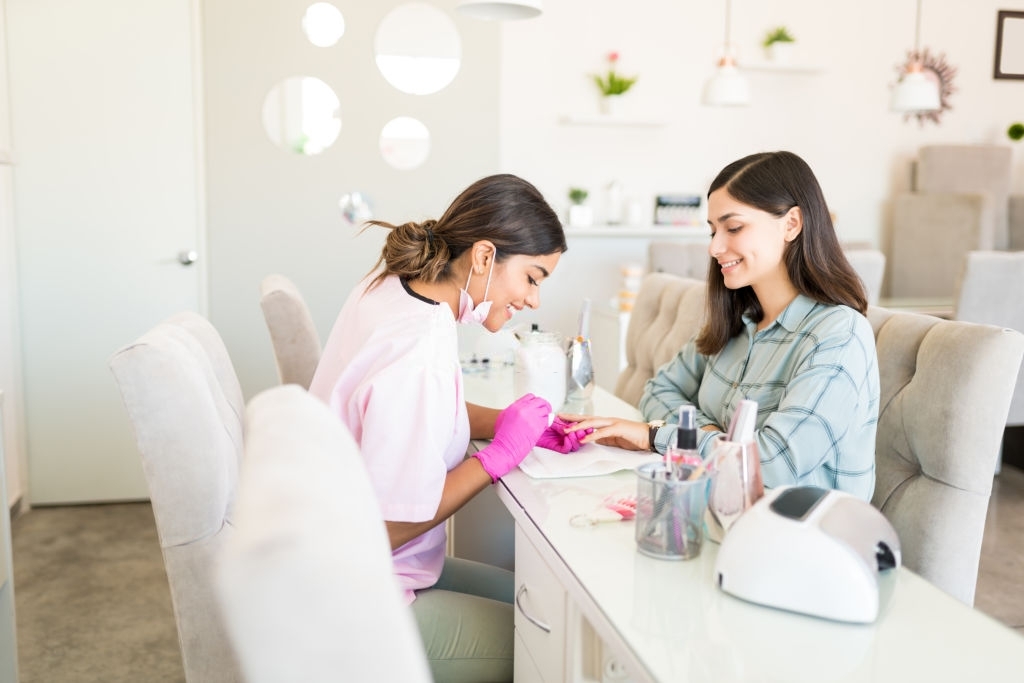
How to Create the Perfect Airbrushed Finish
Airbrushing is becoming increasingly popular with nail art aficionados, due to its ability to create gorgeous nail art decorations that dry upon contact with the natural nail. Once you master the technique, you can create stunning nail designs including this year’s coveted ombre nails.
How Do You Create Airbrushed Nails?
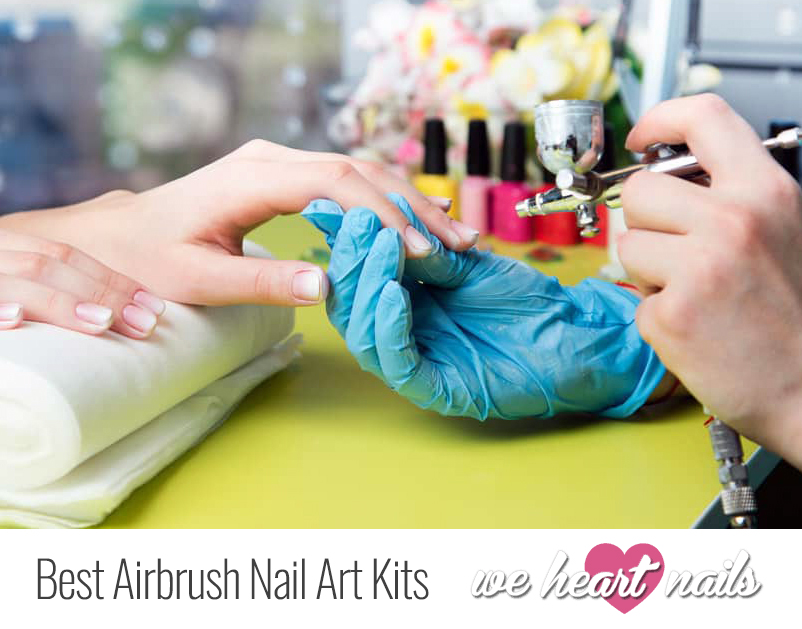
Airbrushed nails are created by airbrushing paint through, or around, a stencil design. With stencils made out of flexible plastic, or paper, there are limitless designs for you to choose from. You can modify them with small pieces of tape by selecting the portion of the stencil you want to use, and taping over the rest. This means that from one sheet of stencils, there are many, many designs you can create. You can even make your own stencils if you have the creative flair and a steady hand! Maybe experiment with making stencils out of lace, feathers, or hole punches, for example.
It’s a great idea to use a photo album to store your stencils in.
Before you begin, you should know a little about how an airbrush works.
By pushing air through the brush, it forces the paint through the nozzle in a spray. It forms a miniscule spot when it lands on a surface. Depending on air pressure and how close the airbrush is to a surface determines the size of the drops and overall coverage; for example, the further away you hold the airbrush, the lighter the coverage and the smaller the spots. The trick is to experiment and see what works for you.
The way you spray is important, too, but generally keeping your brush perpendicular to your nail, spraying straight on, gives a great finish. However, yet again, experiment, as every angle creates different effects.
Practice on paper first, getting the feel for the airbrush; straight lines, spots and so on. Familiarize yourself with what you can do, and what you like, before going near your nails.
An airbrush can be used to create a background for other nail art effects, and you can even layer colors, or stencils, making different designs – the only limit is your imagination.
Equipment:
- An airbrush
- Air compressor
- Cleaning Products
- Stencils
- Airbrush Paint
- Top Coat
Cleaning
It’s important to keep your airbrush clean otherwise the nozzle can get clogged, and paint can’t be released.
Replace the paint with your airbrush cleaning product, and give it a good spray through onto a paper towel. Then wipe over the outside, getting into all the nooks and crannies with a cotton swab, or bottle brush.
Let it dry and off you go again!
1) Master Airbrush Nail Art Airbrush Set

What Makes It Great
This precision airbrush is ideal for creating your nail art designs. Built to last, it’s simple to use, produces great effects, and has dual control. This means that you control both the flow of air and paint, making it a very versatile tool. I found this airbrush really easy to get the hang of considering I’m a novice, and, once I’d practiced, managed to create some designs that I was really pleased with.
Where It Could Be Improved
Be aware that when you first start up the air compressor, it does cause the airbrush to splutter for a few seconds. This was easily dealt with by spraying onto paper first before going near my nails.
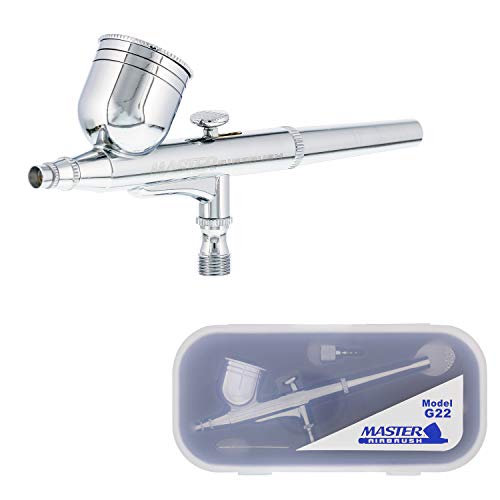
Master Airbrush Model G22 Multi-Purpose Dual-Action Gravity Feed Airbrush Set with a 0.3mm Tip and 1/3 oz. Fluid Cup -...
- Master performance Model G22 multi-purpose high performance precision dual-action airbrush with a 1/3 oz. gravity fluid cup and a 0.3mm needle & nozzle. It's Master Airbrush's top selling gravity airbrush.
Free shipping
2) Fatuxz Nail Art Airbrush
")
What Makes It Great
Within minutes, I was airbrushing my nails with confidence. Easy to use, with controllable airflow, and therefore, polish distribution, this airbrush produces some impressive finishes. With a range of cup sizes, it can hold differing amounts of polish, and the design is pleasingly ergonomic. If you fancy getting creative, this is a great choice.
Where It Could Be Improved
I had to use an extension cable to ensure that I had plenty of room to maneuver, however this wasn’t a deal breaker.
Portable Makeup Airbrush Set with Mini Air Compressor Ink Cup Spray Pen for Tattoo Nail Art Face Paint Cake Deraction...
- 【Portable Multi-Purpose Single-Action Airbrush Set】it's light weight and easy to carry around. Portable cordless spray gun can be used for art painting, temporary tattoo, cake decoration, make-up, nail art, handicraft, model coloring, barber shop,hobbies.
3) Custom Body Art Airbrush Nail Stencils

What Makes It Great
Cut into rectangle sheets, these 260 designs are well thought out with decent sized spaces between each stencil, allowing for easy customization. The discs are made from Mylar, a durable, flexible plastic, meaning they’re suitable to be used over and over again. Each design is accompanied by several ideas for colors. I liked the addition of the color suggestions, finding them very imaginative and unusual. Feeling arty, I changed a couple of the designs with some tape and a craft knife and was really happy with the results.
Where It Could Be Improved
As before, without any self-adhesiveness, I used a little spray adhesive, but it would be nice if the manufacturers had thought of it.
Custom Body Art Airbrush Nail Stencils - Design Series Set # 1 Includes 20 Individual Nail Templates with 13 Designs...
- Set of 20 Circle Stencil Sheets with an Average of 13 Different Nail Art Design Patterns on each 4.5" Circle Stencil Sheet (260 Designs)
- Stencils are made of Durable, Flexible and Reusable Mylar
- Each Stencil Design Sheet contains a colored picture sheet portraying some designs in use
Don’t miss these nail art recommendations: